Category: OS

Late 2011 MBP Failing GPU

In late 2011 I had purchased a 15″ MacBook pro and in mid 2016 the GPU started failing until it was unusable. Apple had a replacement program of the logic board and GPU and had it replaced. Yet these started failing recently (less than 2 years after replacement). The symptoms are random restarts, green lines on display, distorted screen. This time there is no program that will replace it free of charge, and was not willing to spend anymore on this laptop. There are a number of solutions and this blog documents the one that worked for me, mostly from this article.

  1. Format and clean installation of Mac OS
    1. Restart/Power-On
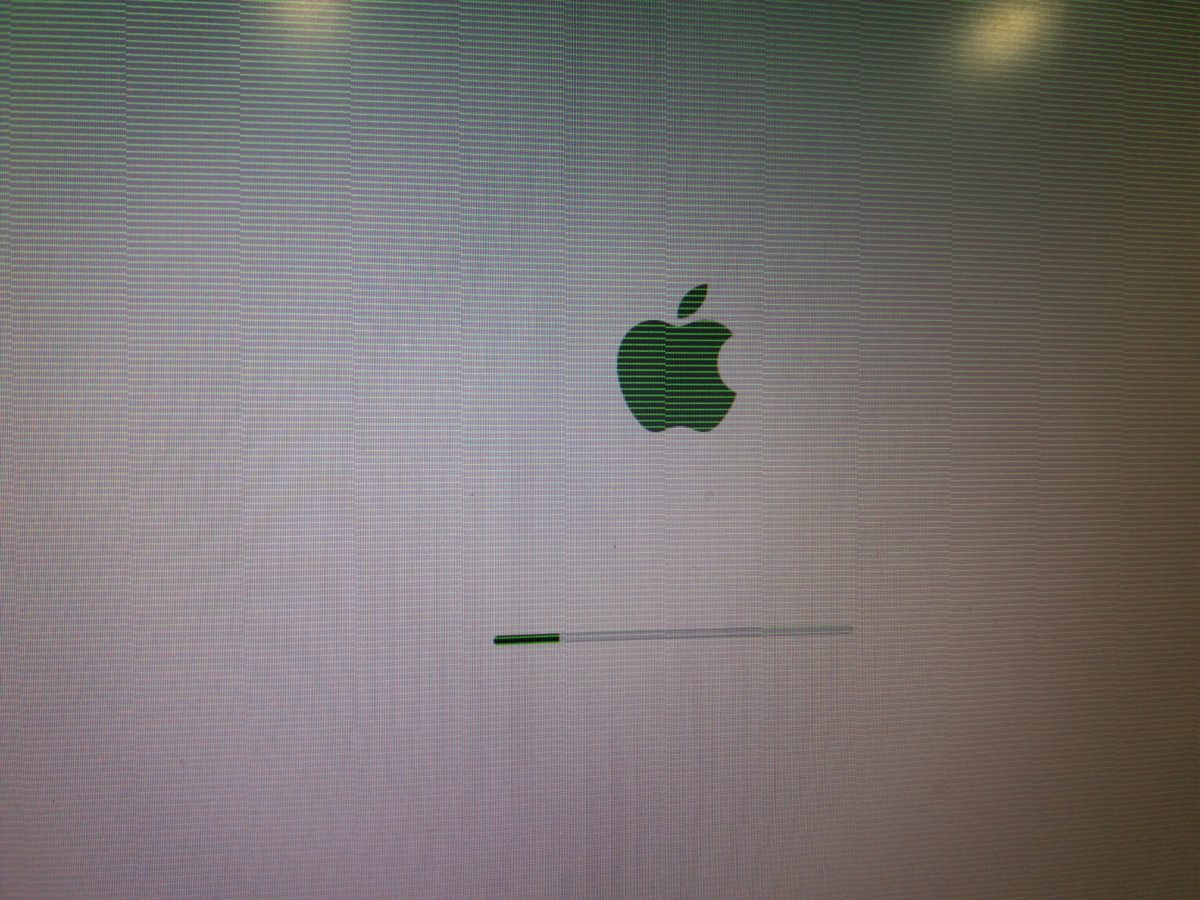
    2. Press and hold Command + R until logo appears.
    3. Select Reinstall MacOS and follow installation steps.
  2. Boot to ArchLinux
    1. Download ArchLinux
    2. Create a Bootable USB, I used Rufus on Windows.
    3. Reboot with USB drive inserted and press Option
    4. Select EFI
    5. Press e when GRUB boot loader is displayed
    6. Type space then nomodeset at end of option then press enter
  3. Update EFI variables
    1. EFI Variables should be loaded already, if not:
      1. cd /
      2. umount /sys/firmware/efi/efivars/
      3. mount -t efivarfs rw /sys/firmware/efi/efivars/
    2. Remove immutability of GPU Power Preferences variable
      • chattr -i “/sys/firmware/efi/efivars/gpu-power-prefs-fa4ce28d-b62f-4c99-9cc3-6815686e30f9”
    3. Delete GPU Power Preferences variable
      • rm /sys/firmware/efi/efivars/gpu-power-prefs-fa4ce28d-b62f-4c99-9cc3-6815686e30f9
    4. Create new GPU Power Preferences variable
      • printf “\x07\x00\x00\x00\x01\x00\x00\x00” > /sys/firmware/efi/efivars/gpu-power-prefs-fa4ce28d-b62f-4c99-9cc3-6815686e30f9
    5. Add immutability to GPU Power Preferences variable
      • chattr +i “/sys/firmware/efi/efivars/gpu-power-prefs-fa4ce28d-b62f-4c99-9cc3-6815686e30f9”
  4. Save and reboot in Safe Mode
    1. cd /
    2. umount /sys/firmware/efi/efivars/
    3. reboot
    4. Press Shift during startup until logo appears.
  5. Remove AMD Drivers
    1. Login and turn FileVault Off from the Security & Privacy System Preferences.
    2. Reboot the system and press Command + R to boot to Recovery mode.
    3. Launch Terminal from the main menu
    4. Find UUID of your Machintosh HD drive
      1. diskutil cs list (find UUID for drive)
      2. diskutil coreStorage unlockVolume UUID
    5. Move the AMD drivers
      1. cd /Volumes/Macintosh\ HD
      2. mkdir AMD_Kexts
      3. mv System/Library/Extensions/AMD*.* AMD_Kexts/
      4. reboot
  6. Install steveschow branch of gfxCardStatus
  7. If you had FileVault on, remember to activate again.

At this point, the MBP will always use the integrated graphics card, yet the dedicated/discrete graphics card would still be drawing power. You can take this a step further by removing 1 resistor and the card would have no power. I did not do this mod but here is the article. It is possible that the steps need to be repeated upon an OS upgrade/reinstall. I am hoping to be able to use this laptop for a few more years like this. The compromise is that now I cannot use the external display, other than that I am unaffected (not a gamer) since an integrated graphic card can cope with my development requirements.

Update

Apple stopped supporting this laptop and could not update the OS anymore. Installed Ubuntu yet the graphics card kept causing issues. Removed the transistor and worked perfectly. So currently the dedicated graphics card is not being powered and the integrated card is being utilised.

Scanners/Printers on un-supported OS

Scanners/Printers on un-supported OS

Got a scanner, printer, all-in-one device that is not supported on your OS, maybe a new printer and you do not want to upgrade your OS. All is not lost!

For scanners try VueScan found at: http://www.hamrick.com/ It replaces the software bundled with your device and is supported on most OS.

For printers try Gutenprint found at: http://gimp-print.sourceforge.net/index.php Its an open-source project so might take some time for new printers to be supported, yet you might be lucky for your situation.

Complete Un-installation of PostgreSQL from Mac OS X Lion

Complete Un-installation of PostgreSQL from Mac OS X Lion

In response to a question on stackoverflow, here is a short guide on how to completely uninstall PostgreSQL 9.1 from Mac OS X Lion.

  1. Open a terminal window

    Utilities->Terminal

  2. Run the uninstaller

    sudo /Library/PostgreSQL/9.1/uninstall-postgresql.app/Contents/MacOS/installbuilder.sh

    PostgreSQL Uninstall Wizard
    PostgreSQL Uninstall Wizard in Progress

    Data not removed after PostgreSQL Uninstallation
  3. Remove the PostgreSQL and data folders (Wizard will notify you that these were not removed)

    sudo rm -rf /Library/PostgreSQL

  4. Remove the ini file

    sudo rm /etc/postgres-reg.ini

  5. Remove the PostgreSQL user

    System Preferences -> Users & Groups

    Unlock the settings panel by clicking on the padlock and enter your password

    Select the PostgreSQL user and click on the minus button.

Remove PostgreSQL User


Virtual Hosts on Apache

Virtual Hosts on Apache

Working on multiple Web Projects on the same system might become a headache to manage. You must use Virtual Hosts if you are using Apache as pointed out by David Kiss. Following are the steps required to create a Virtual Host called magento in your system such that when you type http://magento the site is displayed, as per Mac OS X Lion using MAMP:

    1. Backup your files.
      1. Open a terminal window.
      2. Backup your hosts file:
        sudo cp /private/etc/hosts /private/etc/hosts.bak
      3. Backup your Apache configuration file:
        cp /Applications/MAMP/conf/apache/httpd.conf /Applications/MAMP/conf/apache/httpd.conf.bak
      4. Backup your Virtual Hosts configuration file:
        cp /Applications/MAMP/conf/apache/extra/httpd-vhosts.conf /Applications/MAMP/conf/apache/extra/httpd-vhosts.conf.bak
    2. Update the hosts file.
      1. Edit the hosts file:
        sudo nano /private/etc/hosts
      2. Add the name of the Virtual Host you want on your system:
        127.0.0.1 magento
      3. Save and exit:
        Press Ctrl+X then Y.
    3. Update the Apache configuration file.
      1. Edit the Apache configuration file:
        nano /Applications/MAMP/conf/apache/httpd.conf
      2. Un-comment the line where httpd-vhosts.conf is found such that it looks like this:
        Include /Applications/MAMP/conf/apache/extra/httpd-vhosts.conf
      3. Save and exit:
        Press Ctrl-W then Y
    4. Update the Virtual Hosts configuration file.
      1. Edit the configuration file:
        nano /Applications/MAMP/conf/apache/extra/httpd-vhosts.conf
      2. At the end add the following:
        <VirtualHost *:80>
        ServerName magento
        DocumentRoot /Users/fraki/Sites/magento
        </VirtualHost>
      3. Save and exit:
        Press Ctrl-X then Y
    5. Place the site contents in the folder specified.
    6. Navigate to the virtual host.
Using Virtual hosts

You might want to check the official documentation of Apache about Virtual Hosts, in this post I am using name-based virtual hosts.

Configuring SSL for Apache on OS X Lion using MAMP

Configuring SSL for Apache on OS X Lion using MAMP

After self-signing an SSL certificate for development purposes the Web server needs to be configured appropriately. I found the posting by Dave Kiss to be the best one. Following are the required steps if you used the default MAMP settings:

  1. Backup your configuration files:
    1. Open a terminal window.
    2. Go to the Apache configuration folder:
      cd /Applications/MAMP/conf/apache
    3. Backup the Apache configuration file:
      cp httpd.conf httpd.conf.bak
    4. Backup the SSL configuration file:
      cp extra/httpd-ssl.conf extra/httpd-ssl.conf.bak
  2. Update the Apache configuration file:
    1. Open the configuration file using an editor of your choice:
      nano httpd.conf
    2. Search for the line containing httpd-ssl.conf:
      Press Ctrl-W then type httpd-ssl.conf
    3. Uncomment the line by removing the # from the beginning such that it reads:
      Include /Applications/MAMP/conf/apache/extra/httpd-ssl.conf
    4. Save and exit:
      Press Ctrl-X the Y
  3. Copy the server.key and server.crt file to your Apache configuration folder.
  4. Start the servers through the MAMP interface.
  5. Navigate to your site through a browser using https:
    https://localhost
Accept self-signed certificate

N.B. If the apache server fails to start then you have an error in your configuration, make sure you replace the DocumentRoot in your SSL configuration file to match your actual root folder.

N.B. Dave’s post also contains steps to configure Virtual Hosts which I left out for a different posting to be less confusing.

N.B. Dave’s post using git to backup the files, in this post I simply make a copy of the configuration file, if you want to restore the backup simply type: cp httpd.conf.bak httpd.conf or any other file you want to restore.

Configuring MySQL Workbench with MAMP on Mac OS X Lion

Configuring MySQL Workbench with MAMP on Mac OS X Lion

Installing MAMP on Mac OS X Lion is surely an easy way of getting Apache, PHP and MySQL working on your system. If you plan on using MySQL Workbench you will need to do some additional steps.

  1. Create the missing my.cnf file.
    1. Open a terminal window.
    2. Create the file by typing:
      sudo touch /etc/my.cnf
    3. Change the owner of the file to your username:
      sudo chown fraki /etc/my.cnf
  2. Create a new server instance and shown in my previous post: MAMP, MySQL Workbench and WordPress setup guide
  3. Edit the server instance settings as follows:
    1. Set the MySQL Server start command to:
      /Applications/MAMP/bin/startMysql.sh
    2. Set the MySQL Server stop command to:
      /Applications/MAMP/bin/startMysql.sh
    3. Set the MySQL Server status command to:
      ps xa | grep “/Applications/MAMP/Library/bin/[m]ysqld”
Configuring MySQL Workbench on OS X Lion with MAMP

Keep checking through the guide for additional configuration.

Self-Signed SSL Certificate

Self-Signed SSL Certificate

If you are planning on developing or customizing some web systems such as WordPress or Magento, then at one point you will need some security. You might want to sign the SSL certificate yourself. A number of guides exists for this, for Windows Systems I found the one by Shivprasad Koirala to be very intuitive and for Unix systems the one by Heroku and Scott Baker are best. Here are the steps required:

  1. Check that openssl is installed by running the following command in a terminal:
    which openssl
     
  2. If no such file is found then you need to install. Here are the possible installation methods
    1. Mac OSX – Via Homebrew: homebrew install openssl
    2. Windows – Download software package.
    3. Linux (Debian/Ubuntu Variants) – Guide – sudo apt-get install openssl
    4. Linux (RedHat Variants) – Guide – yum install openssl


  3. Generate the keys for the Certificate Authority
    openssl genrsa -des3 -out ca.key 4096
    openssl req -new -x509 -days 3650 -key ca.key -out ca.crt
     
  4. Generate the private key for your server
    openssl genrsa -des3 -out server.key 4096
     
  5. Create the certificate signing request to be signed (leave challenge password and organization name empty)
    openssl req -new -key server.key -out server.csr
     
  6. Sign your certificate
    openssl x509 -req -days 3650 -in server.csr -CA ca.crt -CAkey ca.key -set_serial 01 -out server.crt
     
  7. Optionally remove the password
     openssl rsa -in server.key -out server.key.nopass

For some documentation about how to use openssl check the official site.

MAMP, MySQL Workbench, WordPress installation and setup guide for MAC

MAMP, MySQL Workbench, WordPress installation and setup guide for MAC

Another task that I needed to do after buying my Mac was to get my Web toolkit working. Apache, MySQL and PHP are very conveniently managed by MAMP, WordPress is as straight forward as always. MySQL Workbench required some fine tuning but managed to fix it properly.


Decided to document everything as I went along and prepared a well documented guide with some of my personal recommendations. Hope you will find it useful and as always all feedback is welcome.


MAMP, MySQL Workbench and WordPress setup guide


Remote Access a system across different OS (A TeamViewer Guide)

Remote Access a system across different OS (A TeamViewer Guide)

One of my first tasks I wanted to be able to do after getting my Mac was to be able to remotely connect to my servers and a number of other trusted systems for support. I wanted to try a number of options and my first serious attempt was with TeamViewer.

My Laptop is a Mac, my Home-PC is Ubuntu Linux and my wife uses Windows XP. I installed version 7.0 of TeamViewer on each OS and got remote access in no time. Thought of creating a short guide on the subject even though the application is very self intuitive.

So here is the guide to getting remote access across different Operating Systems using TeamViewer: TeamViewer Guide

NTFS Read/Write support on Mac OSX Lion

NTFS Read/Write support on Mac OSX Lion

One of the first problems I encountered on my Mac was how to manage some external drives using NTFS. After reading a number of blogs, postings and articles I found the one by Sergey Vasilyev to be the best. The following is a quick guide to getting NTFS read/write support on OSX Lion.

  1. Tuxera MacFuse 2.2: Download Tuxera MacFuse 2.2 from here and install.
  2. NTFS-3G: Download NTFS-3G from here and install.
  3. fuse_wait: Update the fuse_wait script by downloading and installing the setup from here.

Next time you connect a storage device with NTFS you should be able to read/write from/to it.
Do note that there are a number of paid alternatives and a more detailed explanation can be found in the original blog of Sergey Vasilyev at http://blog.nolar.info/ntfs-3g-in-mac-os-x-lion-10-7-with-read-write-support/

Theme: Overlay by Kaira